You might have seen my comments over in this thread. Long story short these *factory* parts just aren't available. I have spoken to VW Australia as well as VW UK (who rang Germany for me).
But where there is a will and all that... So I decided to make my own.
As always, this is a write up of my method, if you want to have a bash yourself I take no responsibility for scraped knees, bruised egos or any air bags you might cop to the face.
So on to it:
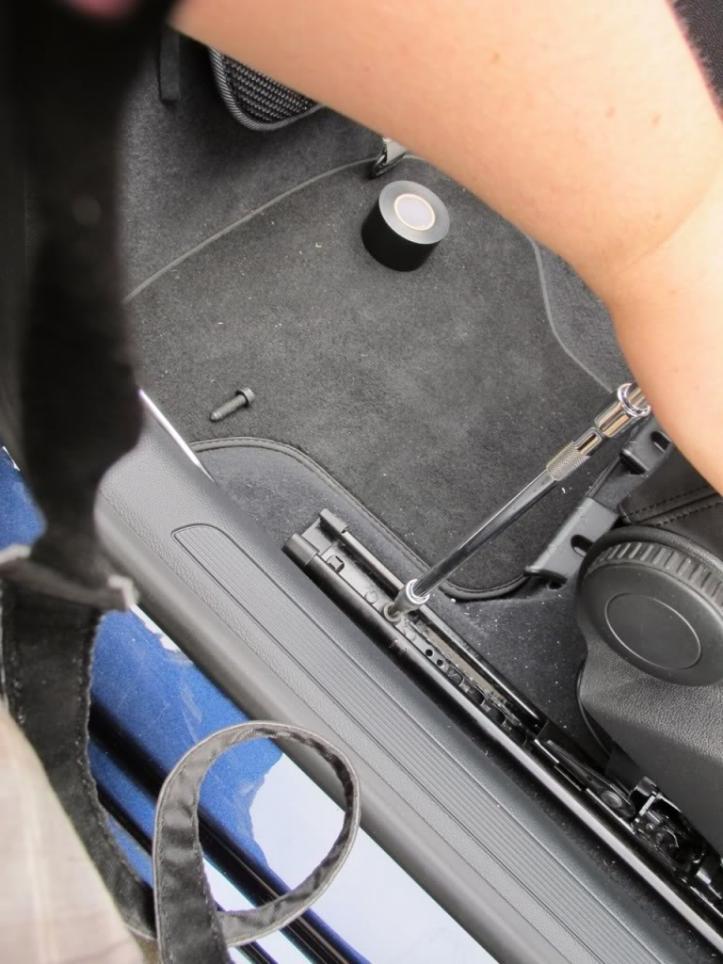
Crawling under the seat just wasn't going to cut it, so out came the tools and out came the seat. One bolt in each corner and then carefully unplug the few electronic cables under the seat. I assume these are for the seatbelt sensing system and the airbag. I made sure the car was off the whole time I had everything out and not turned back on until I finished. When all was said and done there was no error lights on the dash so it seems it's not necessary to remove the battery. (I assume if you turn the ignition on it will sense the missing seat airbag and throw errors... just a warning to anyone attempting this).
It's worth noting that the back bolts are clear of the seat if it's leaned forward (nice and easy in a 2 door cab) and the front bolts are clear if the seat is pushed all the way back AND you lower it to it's lowest position (which moves it back a fraction more).
Most of the cables are connected with clips on the underside of the seat, however mine had a rouge cable which passes through the meshing and plugs into a socket on the floor:
There was a cable tie on each end of the webbing which a clipped off to get the plug through. Easy enough to replace later
So now the seat lifts out quite easily. Again, in a Golf Cabriolet with the roof down everything is nice and accessible!
So with the seat out and flipped upside down I had a look and picked these mounting points:
A little measuring and a little cardboard cut to size and I had a bit of a template mocked up and marked out on some .9 Gal.
For reference if you can't read my markings:
* They main body is 250 x 105.
* The two front tabs are 20 x 20 inset 15mm from the edges, which makes the centres exactly 200mm apart to fit the front mounting points.
* The rear piece is 85 x 20 (including the 20 x 20 tab for mounting). Conveniently this is dead centre.
I started with a Dremel but quickly gave up and whipped out the jigsaw (after a trip to Bunnings for some steel blades). This is the rough shape I ended up with:
A bit of a clean up of the edges with the Dremel and a grinding stone to remove the sharp edges and round of the corners along with some bending and a quick coat of black paint to make it look more presentable left me with this:
From here it was a matter of bolting up the extinguisher mount that came with the bottle I bought:
Then riveting it into place under the seat (you will want to raise the seat up to it's highest position to gain enough clearance to get at the rear mounting point with the rivet gun).
And with the bottle in place:
From here it's just a matter of putting the seat back in the car and reconnecting the wires then bolting the seat back down.
And done!
All the way back:
and all the way forward:
You can hardly see the bottle unless you look for it, however reaching for it's easily accessible.
So a mornings work and it's all together rather nicely even if I do say so myself. This is as close to factory as I think you could possibly get without actually finding the factory bracket.
*******************
Thread update 25/04/2015:
I was flicking through the ECS website today and stumbled across this little gem:
Rennline ES#2840053
A bit of a poke around google doesn't turn up much else except this link to the Rennline site direct:
Rennline Fire Extinguisher Mount - VW-Rennline, Inc.
So it looks like there are some off the shelf options available now.


 Reply With Quote


Bookmarks